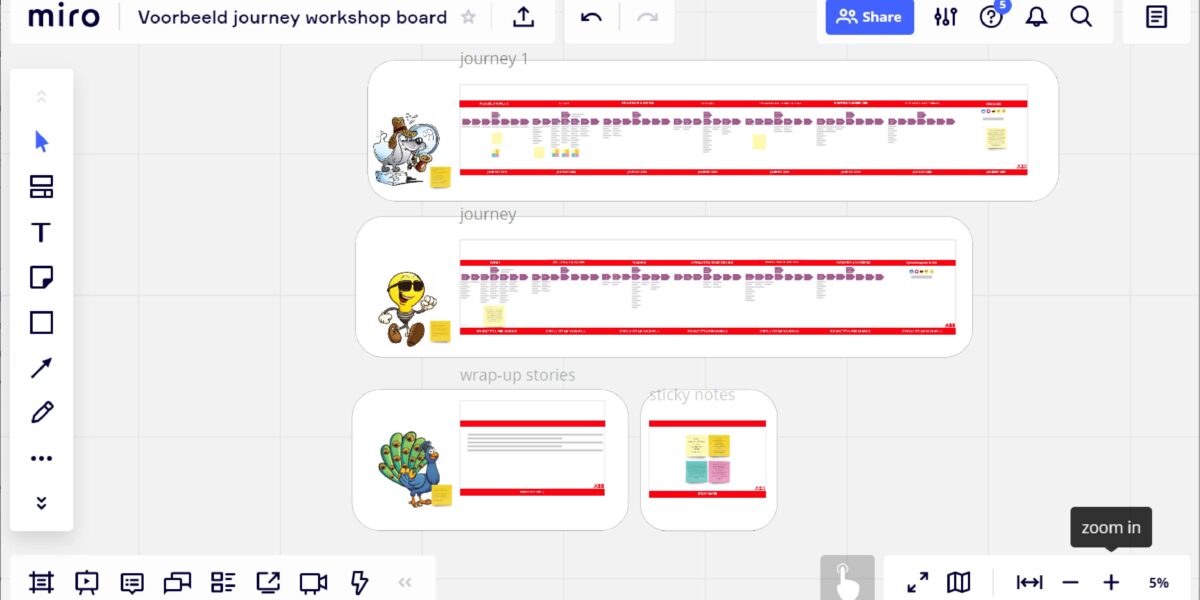
Due to the current Corona challenges, it was time to get creative.
Normally we run the journey workshops live with a group of 10-15 participants from each department of the organisation.
But this of course was not an option.
So we ran an experiment and our conclusion: it worked very well!
Even with 14 participants in a virtual setting or even 60 for a virtual brainstorm session across several countries.
In this blog I share what we did and my tips when you want to run this as well.
1. Select the right tools
For our workshop we used a combination of Google Hangout (Zoom also works fine) and Miro.
I used to be more fan of ZOOM, because it has a gallery option where you can see all participants in small videos in 1 screen (before you use ZOOM, make sure you google the security issues and have the correct settings to prevent “ZOOM bombing”).
And the advantage of ZOOM is that you can easily work with virtual break out rooms, that option is not available in Google hangouts (at least not to my knowledge).
But thanks to one of our participants, we all installed the Google Hangout Grid view add on and it worked perfectly.
And we choose Miro as our virtual whiteboard (you can create a free account and off you go).
2. Keep the same program as if it was live
We didn’t adjust anything on the agenda, we kept the same program and breaks we always do when running these workshops.
An introduction of all participants, an introduction of the why and how of the project, then the workshop and at the end an individual feedback round.
So we spent from 9.30 – 15.00 together, taking the same breaks regularly as we normally do live.
When there is a break people can just log out of the meeting, or put themselves on mute and shut down their video.
3. The right discussions
If you have done some workshops (journeys or others), you know that there is a lot of value coming from the discussion between the participants.
This was my main concern.
When you have some experience with virtual sessions, you know that interaction is mostly a huge challenge.
But in this context of the workshop it worked absolutely perfect!
Grid view is essential in this stage to see each other and react on each others comments.
No one felt hesitant to speak and all participants had their say during the workshop.
4. Prepare your Miro board
Don’t start the workshop with a blank Miro board.
Make sure you have the whole structure of your workshop already visualized in Miro.
In case of a journey workshop, make sure the main ánd detailed journey steps are already on the board (check this online masterclass for my perspective on journeys and journey workshops).
Since I have a different approach to journeys, for me the journey templates in Miro are not useful.
So I started by building my journey structure from scratch in Miro as prep for the workshop.
5. Have some fun with it
It always helps to have a nice graphic design of your board.
You can surely brand it with your company logo and colors, but I would definitely also advise you to use smileys and other non branded fun elements to create some more fun and energy during the workshop.
Then during the workshop you take notes as well as possible and then you clean and pimp the final board after the workshop.
6. Arrange a facilitator and a note taker
In our case, I was the facilitator and a colleague was the note taker.
This meant that I would share my screen with the Miro board during the whole session (so I don’t see the participants video’s).
My colleague would not share her screen and focus completely on taking all the notes.
When relevant, we can see her notes live through my screen sharing, but we now also had the flexibility to move around across the board while my colleague was still typing elsewhere on the board.
I would not advice to arrange a note taker that also needs to play an active role in either facilitating or being an active participant.
It is too distracting to focus both on the process and content and on typing all that is being said in Miro keeping an eye on keeping the board still structured (moving things around, adding post-its or text boxes, etc. so you need a little tech savvy person to take the notes).
7. Don’t be scared, just try it and learn!
I had never done this before virtually. I do have years of experience in running journey workshops.
Just trust your non-virtual experience and don’t be afraid to make mistakes (think of moving the complete board by accident which I did twice or people nodding their heads to confirm a question while I can not see anyone since I’ve shared my screen 😉 Yes, by now I know there is also a Lock option…).
My conclusion: it was no problem at all to create the same vibes and energy that gets everybody excited, not only about the journey but about the whole road to become a more customer- and human centric organisation!
To get you started, here a link to YouTube getting started videos of Miro.
And the link to the Google Hangout Grid View add on.
Want to know more about creating energy?
In all online modules, masterclasses and training (check online playground) you find an extra block dedicated to tips and tricks to create energy across the entire organisation, to make sure everyone is excited to start improving based on the experience insights.


